2026 DIY PATIO TOOLKIT
Quick Patio Calculator →
📚 The Complete How-To Library · 10 Steps + Everything You Need

How to Build a Paver Patio

The complete DIY installation guide — plus paver types, patterns, sand, drainage, and costs.

From the first planning sketch to final seal and seasonal maintenance, this single guide walks you through the full paver patio journey. Jump straight to the answer you need below, or follow the 10-step build from start to finish.

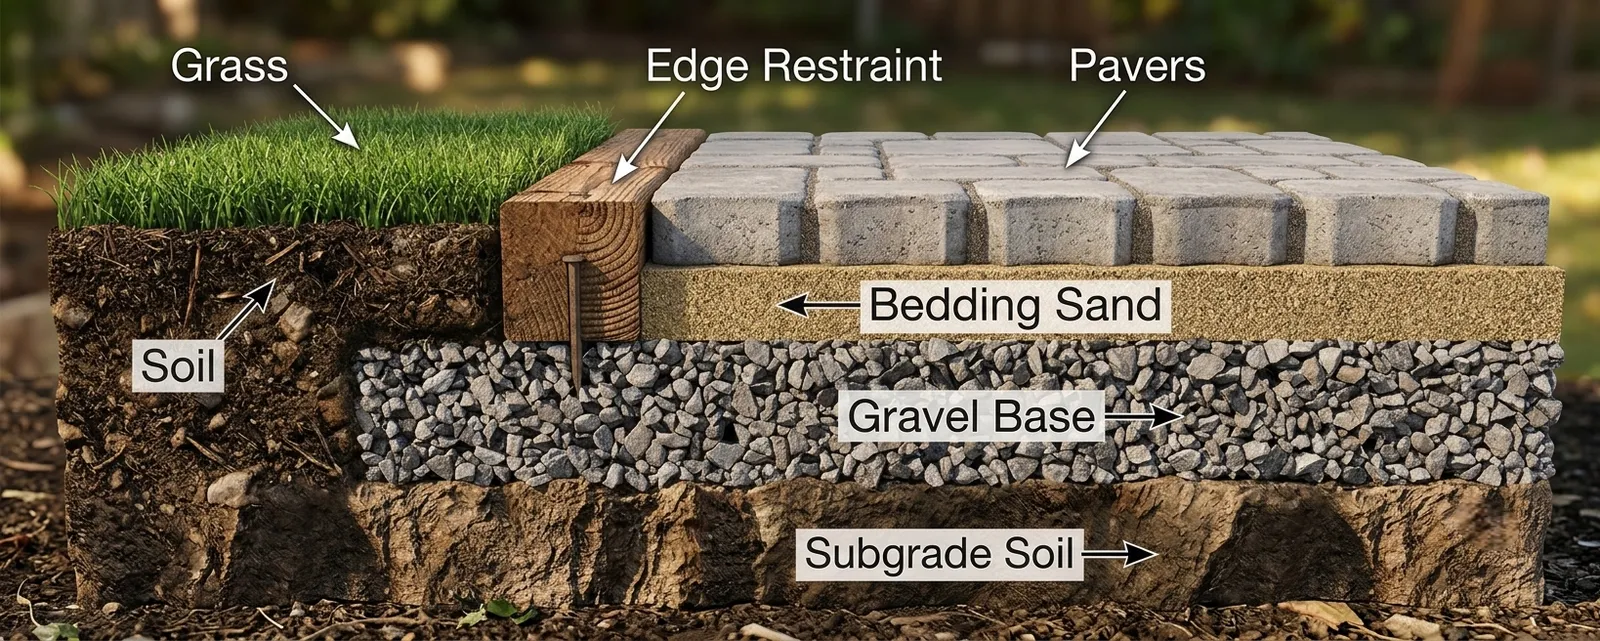
Paver patio guide diagram showing the complete installation cross-section from base to surface
🛠️ The Master Blueprint

How to Install Pavers: 10 Proven Steps

Whether you install brick, concrete, or stone pavers — or plan to hire a pro — understanding these10 steps keeps your patio level, drained, and weed-free for decades.

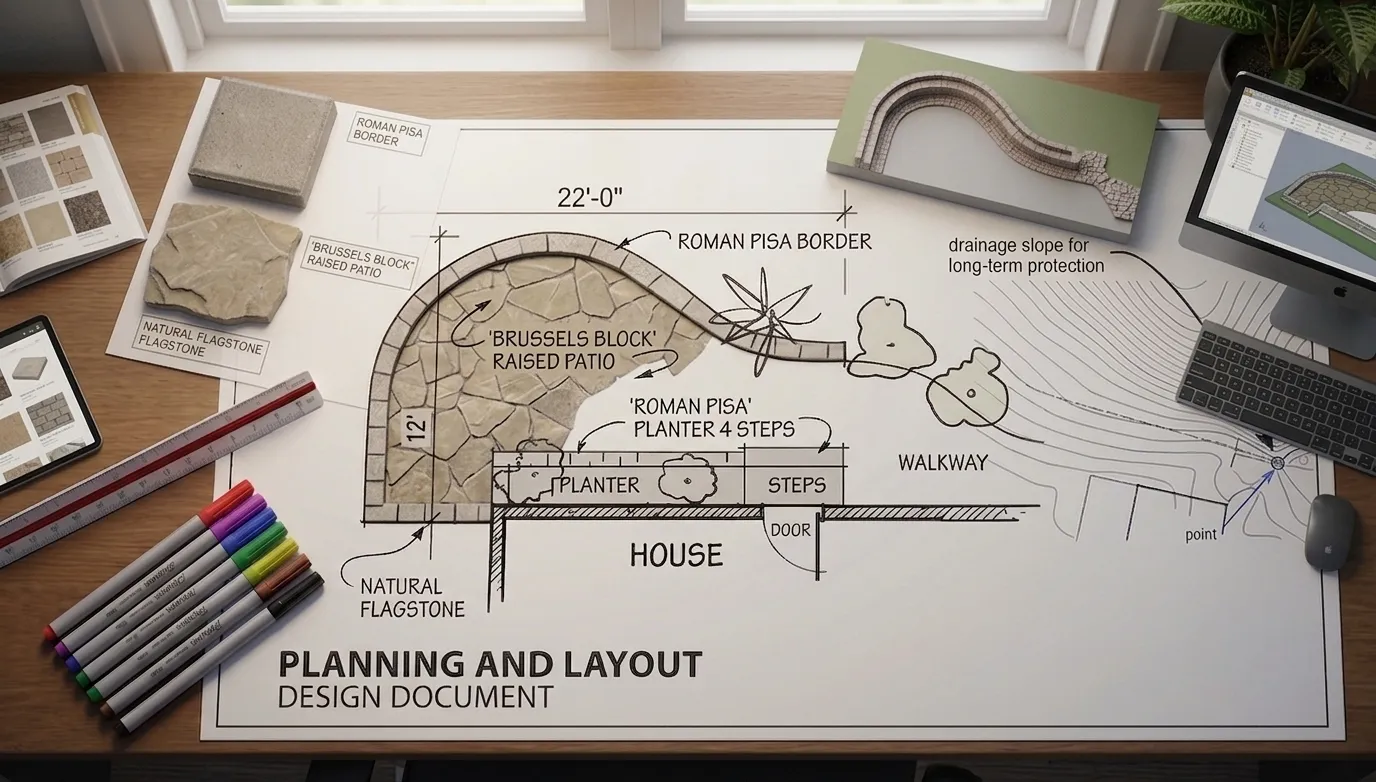
Paver patio planning and layout blueprint diagram showing the staked-out footprint
01
≈ 2 hours · Step 01 of 10

Planning & Layout

Decide where your pavers will go and confirm there is enough space. Sketch the plan to scale on graph paper, then lay out the real footprint with a hose or scrap wood and spray-paint the outline about 8 inches outside it.

Key Checklist

  • Draw the area to scale on graph paper with exact measurements.
  • Outline the area with a hose or timber, then spray-paint the boundary 8 inches outside the finished edge.
  • Design a slope from the start so water runs off the pavers instead of pooling and damaging them long-term.
💡Pro Tip: A patio that looks flat to the eye still needs a working slope. A 1-inch drop every 4 feet is the classic rule — more on that in Step 3.
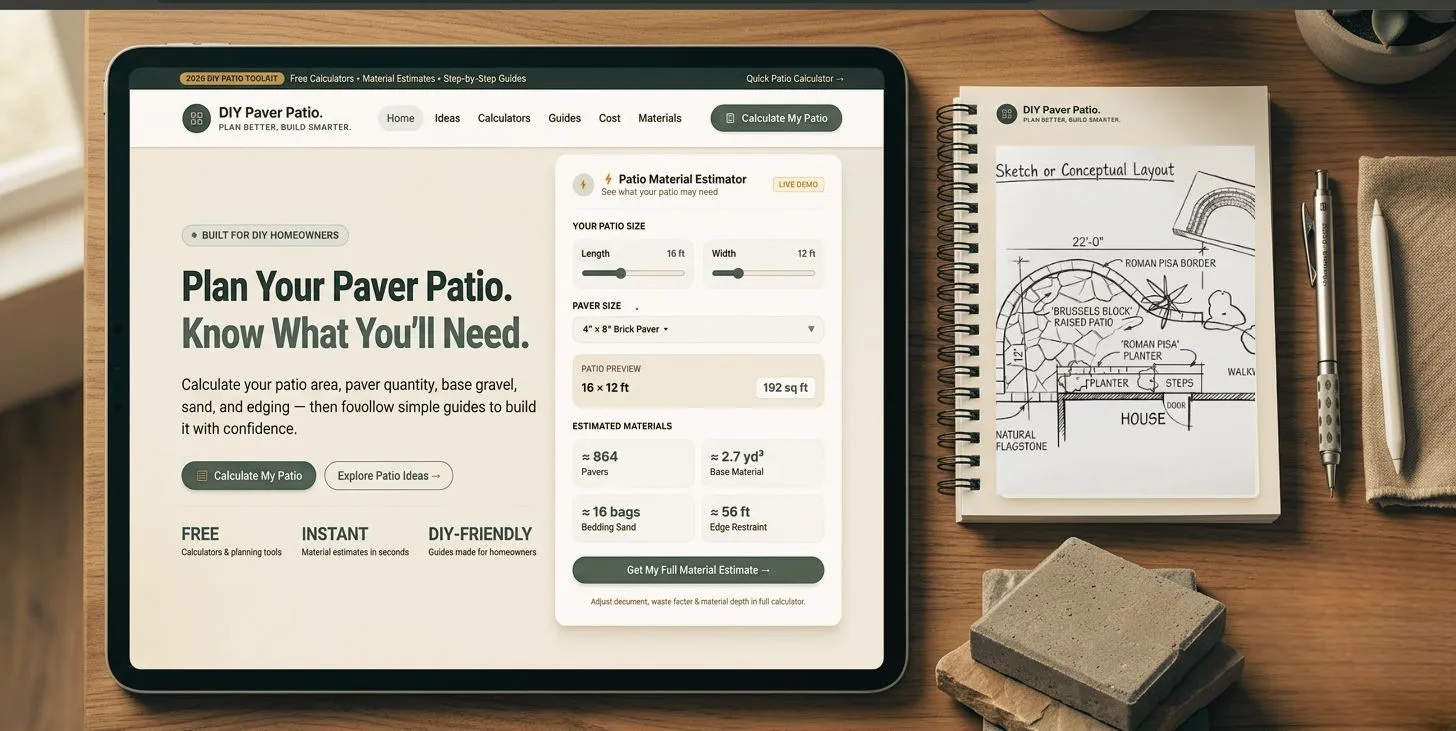
Calculation worksheet showing how to compute square footage and paver quantities
02
≈ 30 minutes · Step 02 of 10

Calculating the Number of Pavers

Measure the width and length of the paved area, then multiply them to get the square footage. Add an allowance for pavers cut to fit curves and edges, then multiply by your paver coverage rate.

Key Checklist

  • Square footage = width × length of the paved area.
  • Add 5% to your count for normal cuts — or 10% if you know you will be cutting a lot (curves, borders, steps).
  • Multiply by the paver coverage rate from your supplier, which varies with paver size and shape.
💡Pro Tip: Skip the math by hand — enter your patio size and paver format in the paver count calculator for an exact number in seconds.
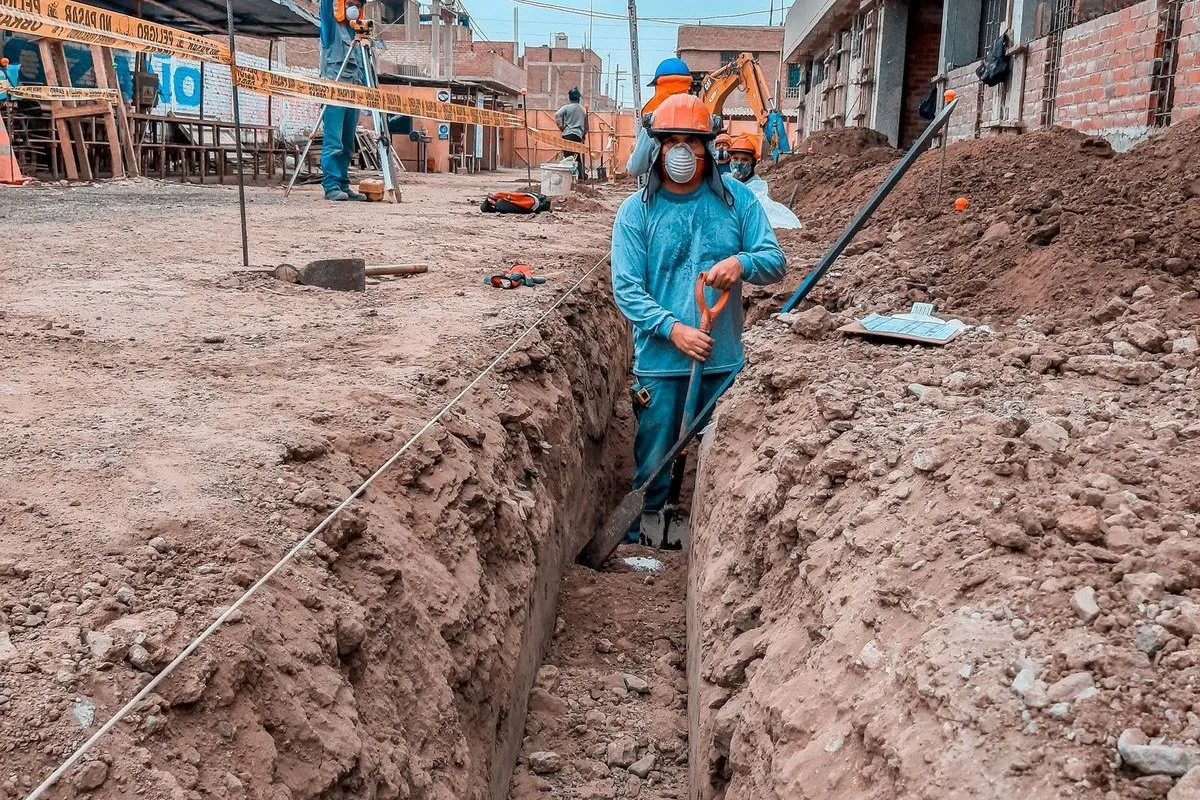
Worker excavating and leveling ground for a paver patio base
03
≈ 4–6 hours · Step 03 of 10

Excavation & Subgrade Compaction

Establish the finished height the pavers must never exceed, then set stakes around the perimeter with a string line marking the slope. Excavate to the total depth: base (4–6 inches) + bedding sand (1 inch) + paver thickness.

Key Checklist

  • Slope the excavated pad downward, away from the house — a 1-inch drop for every 4 feet of run.
  • Call 811 (Dig Safe) before digging to locate buried utility lines.
  • Set stakes and a taut string to mark the finished height and slope line.
  • Dig out, level, and compact the subgrade with a plate compactor.
💡Pro Tip: For rectangular areas, build a temporary border from 2× material set to the correct height and slope — it becomes your screeding reference later.
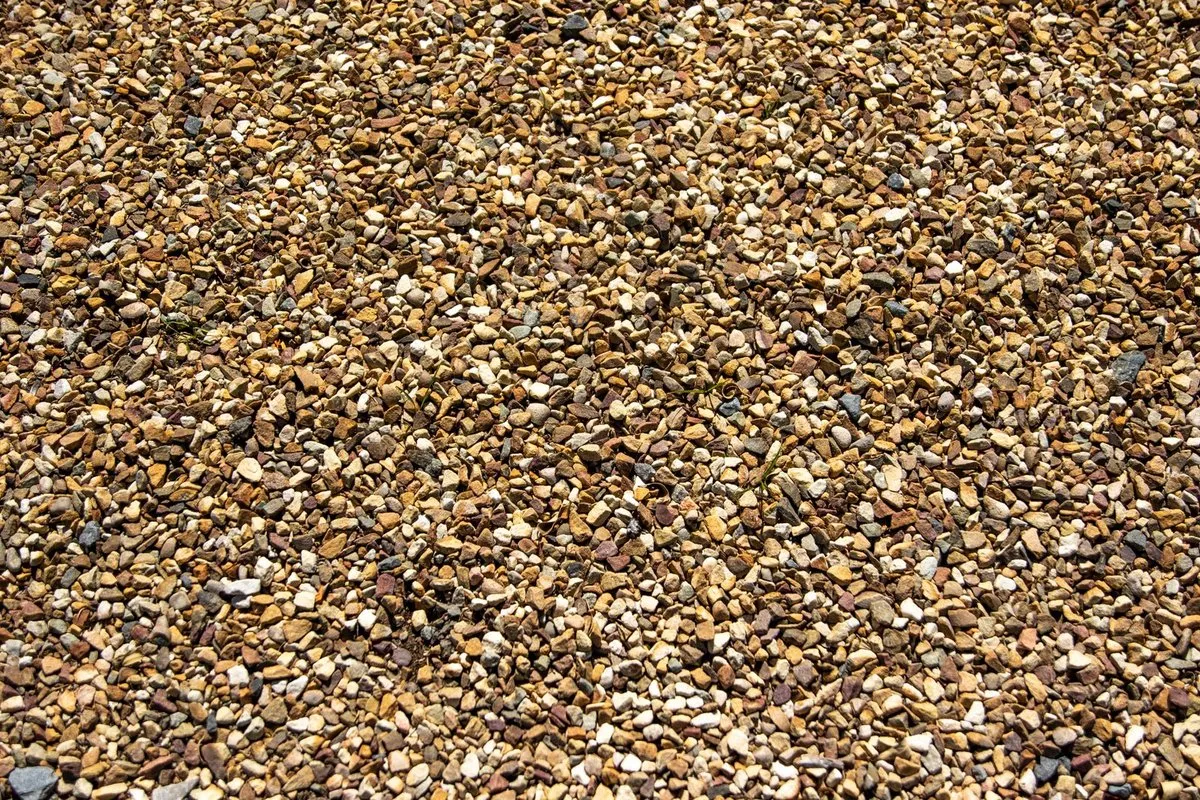
Close-up of crushed stone gravel base layer for a paver patio foundation
04
≈ 4–5 hours · Step 04 of 10

Base Material: Crushed Stone & Compaction

Lay a crushed-rock base — typically 3/4-inch minus gravel whose sharp, varied-size edges compact into a stable pad. Slightly damp gravel compacts far more easily than bone-dry stone.

Key Checklist

  • Split the base into three thinner layers and compact between each one for the best result.
  • Run a plate compactor over each lift several times until it is level, sloped, and to your established grade.
  • Thicker base for soft clay sub-soils or if the surface will be driven on.
  • The bed must be compacted rock-solid before any sand goes down.
💡Pro Tip: This is the step that separates patios that last from patios that sink. Full aggregate specs and the "do not use pea gravel" warning are on the materials page.
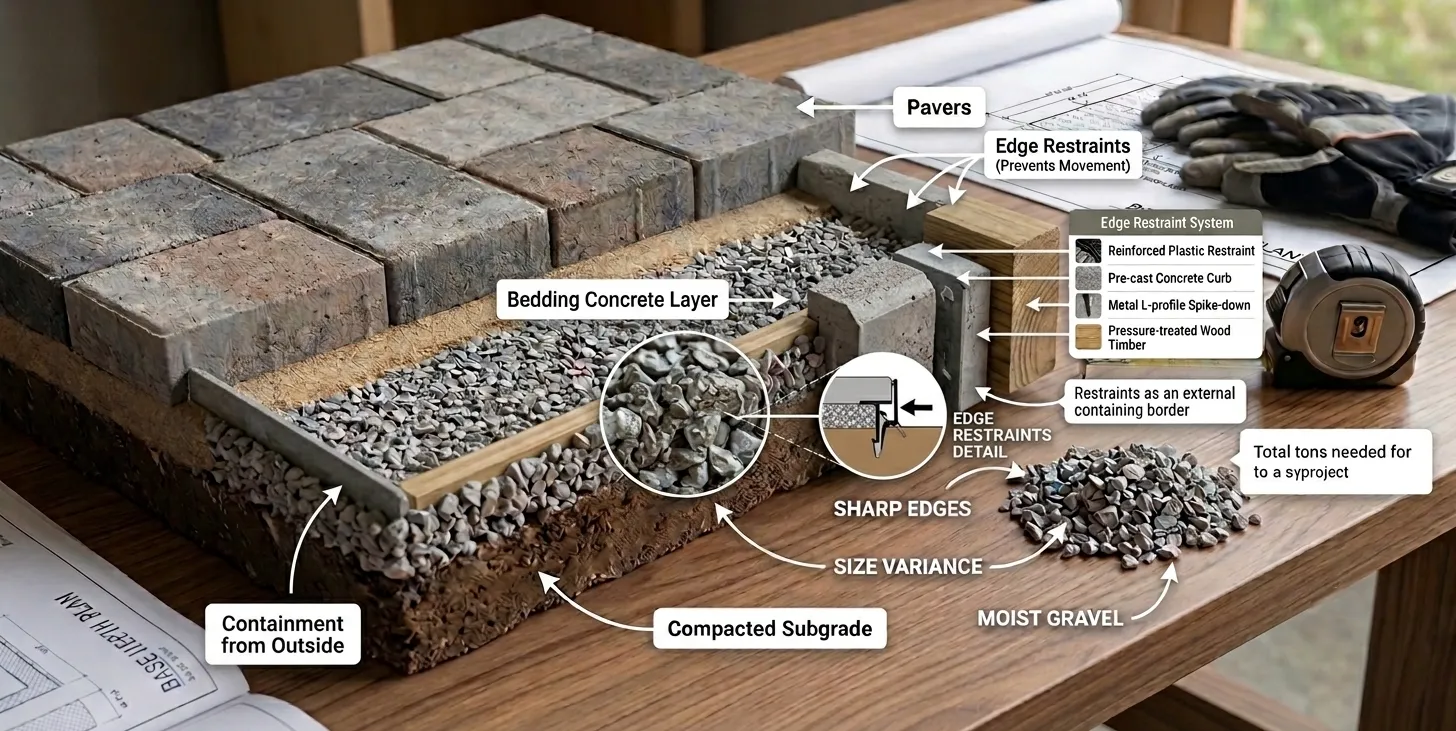
Close-up of paver edge restraints locking the outer border in place with spikes
05
≈ 30–60 minutes · Step 05 of 10

Edge Restraints

Edging is essential. Without edge restraints your pavers will move and separate — harsh weather and heavy traffic will slowly destroy the paved surface.

Key Checklist

  • Choose plastic, pre-cast concrete, metal, or sturdy timber restraints.
  • Install the edging snug against the outer paver border, anchored into the compacted base.
  • Anchor with 10-inch steel spikes every 12–18 inches along each run.
💡Pro Tip: Skip mortar or cement troweled edges — they crumble during frost heave. Flexible commercial restraints move with the ground and hold the border tight for decades.
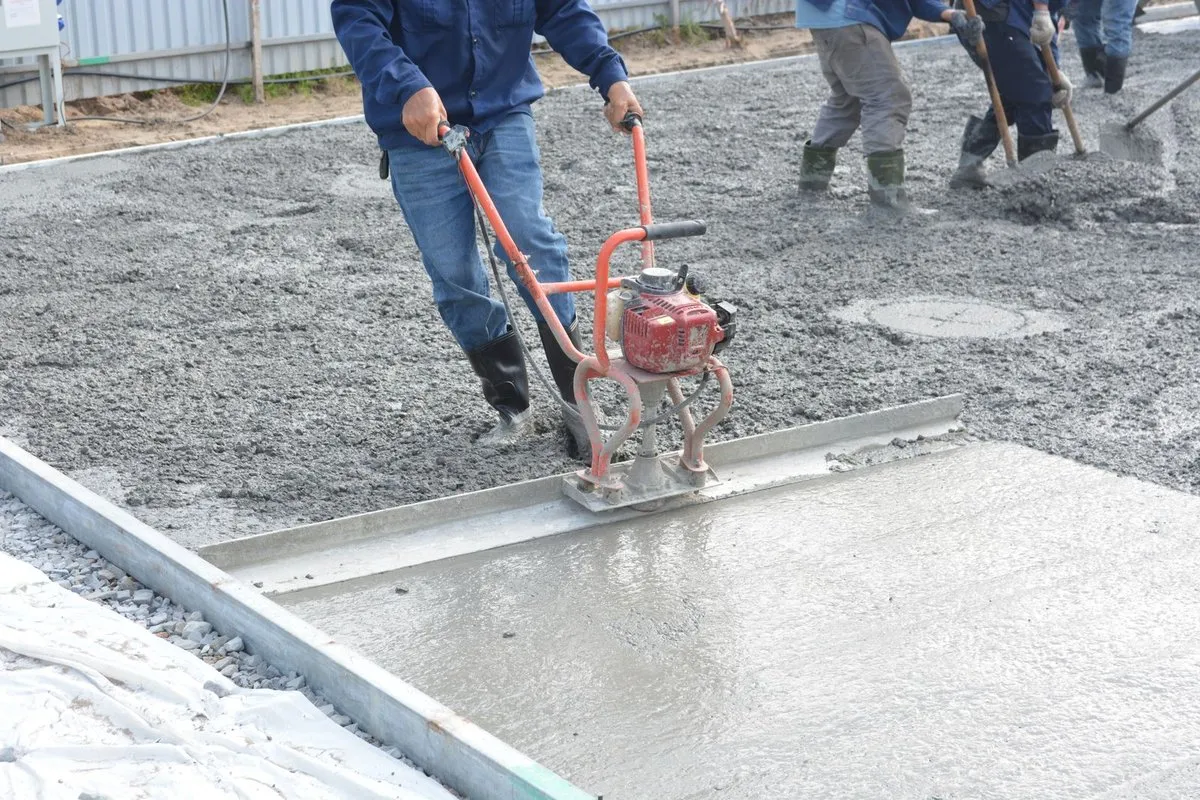
Worker screeding and leveling sand bedding for paver installation
06
≈ 2 hours · Step 06 of 10

Sand Bedding & Screeding

Before laying pavers, place exactly one inch of bedding sand over the compacted base. The sand bed sets the pavers and protects the joints from being eroded away.

Key Checklist

  • Lay 1-inch diameter conduit or PVC pipe across the base as your thickness guides.
  • Spread sand 1 to 1½ inches deep, then screed flat with a straight 2×4 until the pipes are just visible.
  • Remove the pipes and carefully fill the voids with loose sand.
  • NEVER walk on or compact the screeded sand before laying pavers.
💡Pro Tip: Use washed ASTM C33 concrete sand (sharp, angular edges) — never round play sand, which lets pavers shift like ball bearings.
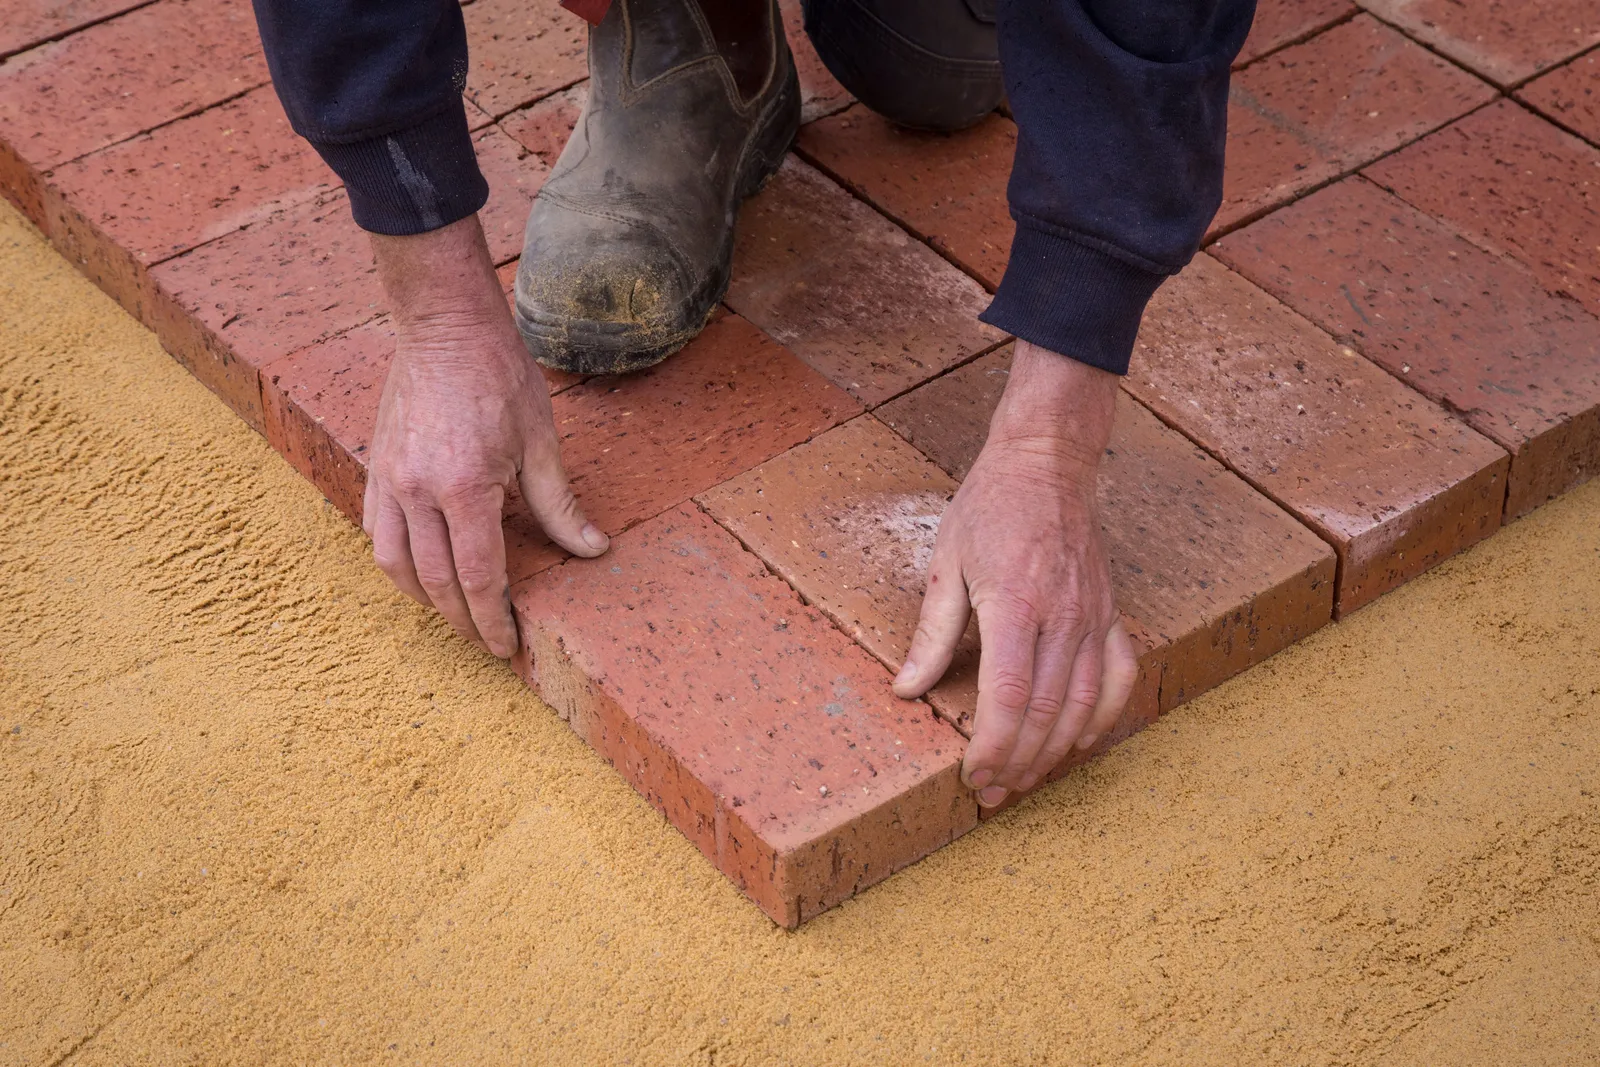
Hands laying paver blocks into a sand bed in a herringbone pattern
07
≈ 4–6 hours · Step 07 of 10

Laying Pavers & Cutting

Lay the pavers in your planned pattern, starting from a square corner and working outward. Most pavers have built-in spacers so joints stay uniform; cut perimeter blocks to fit.

Key Checklist

  • Set each paver straight down without sliding it across the sand bed.
  • Mix blocks from 3–4 different pallets so colour variation blends naturally.
  • Cut to size with a diamond wet saw, masonry chisel, or mechanical splitter — always with safety glasses.
  • Once all pavers are laid, run a plate compactor (with a protective pad) over the surface to seat them into the sand.
💡Pro Tip: For chip-free cuts, score the line first and let the wet saw do the work slowly — rushing with a dry blade is what blows out edges.
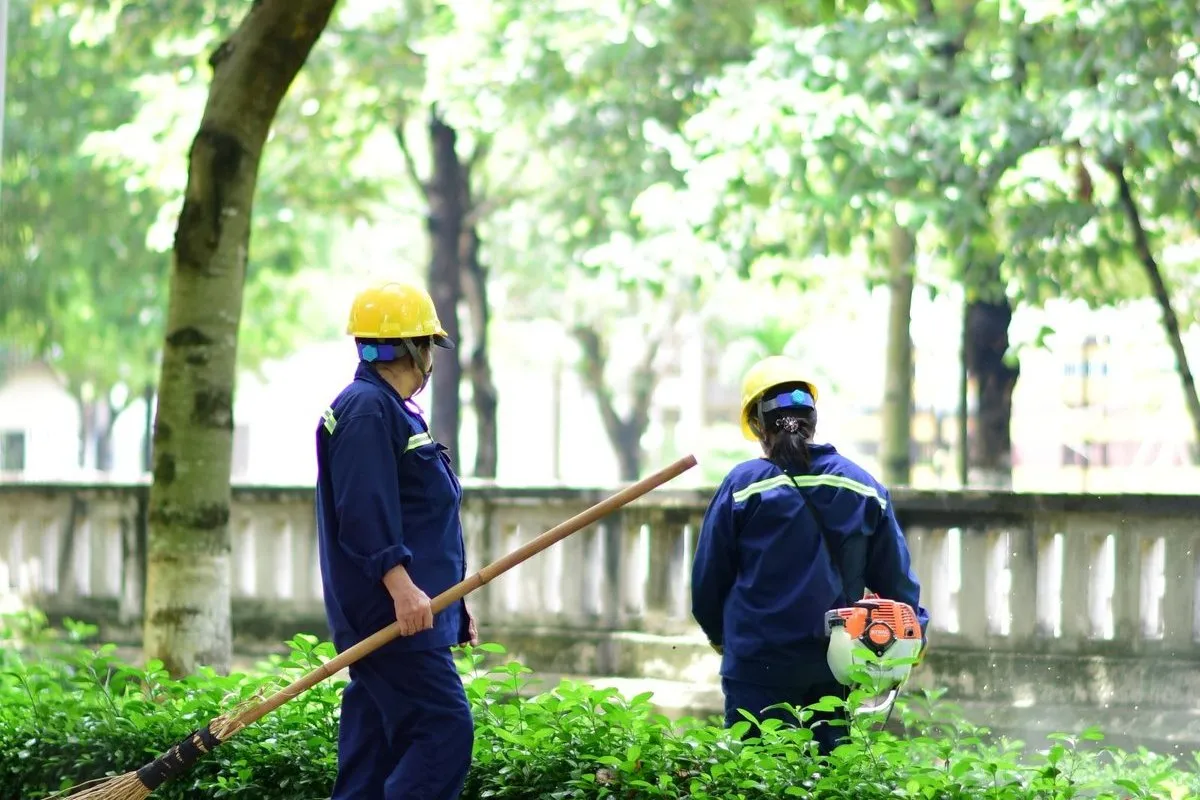
Sweeping joint sand into paver gaps to lock the patio surface
08
≈ 1–2 hours · Step 08 of 10

Filling the Joints

Sweep sand over the surface to fill every joint. This locks the individual pavers into a single, stable surface. The paver faces and joints must be bone-dry for the sand to fall all the way down.

Key Checklist

  • Sweep fine joint sand diagonally across the joints until they are completely full.
  • The drier and cleaner the patio, the better the sand locks in.
  • For the modern standard, top with polymeric sand and mist-activate to harden the joints.
💡Pro Tip: Polymeric joint sand blocks weeds and ants, but never activate it in the rain and never use a high-pressure hose on the joints.
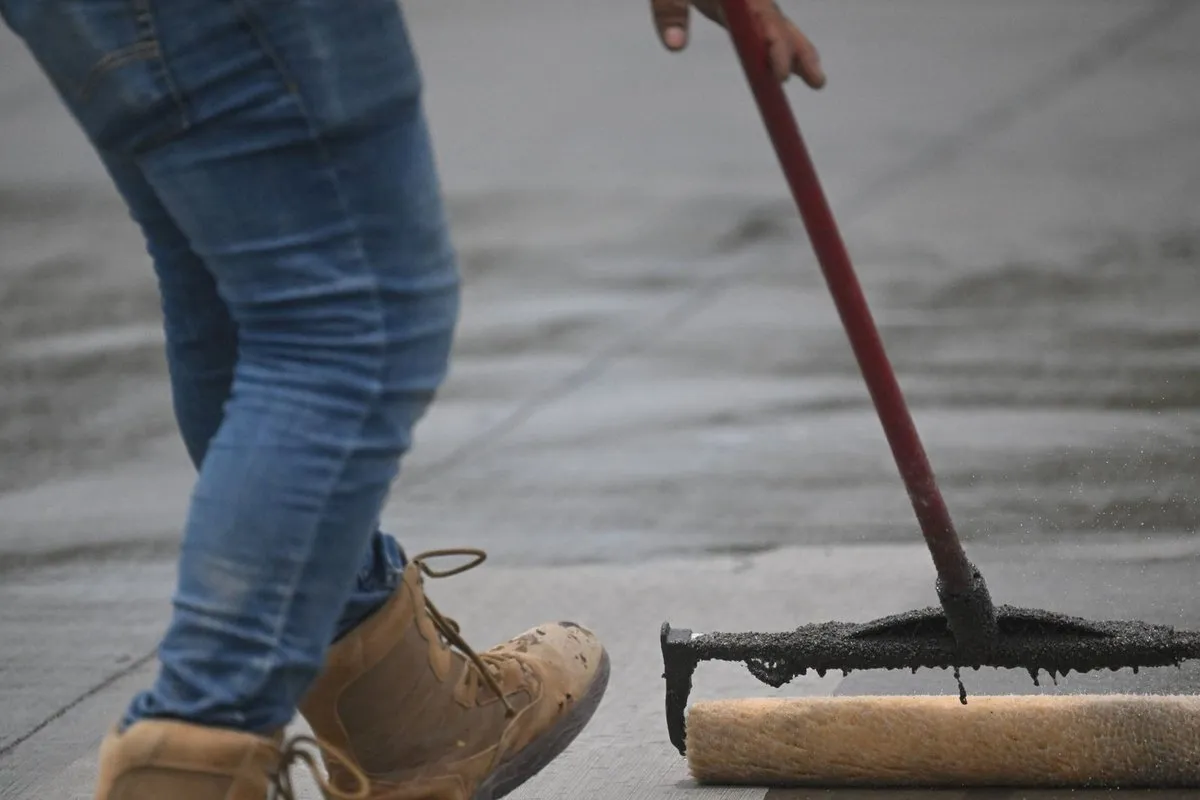
Applying sealant to a paver patio surface with a roller
09
≈ 1–2 hours · Step 09 of 10

Sealing the Patio

Clean and sweep the new patio, then apply a sand-binding sealant. Sealing locks the joint sand in place, stops vegetation from growing between pavers, and repels stains.

Key Checklist

  • Choose a sand-binding sealant made for paver joints.
  • Apply to a clean, completely dry surface.
  • Prevents stains from oil, grease, grime, rust, moss, algae, and tire marks.
  • Re-seal every 3–5 years to keep colour and protection fresh.
💡Pro Tip: A good sealer also makes day-to-day spills wipe off instead of soaking into the paver face.
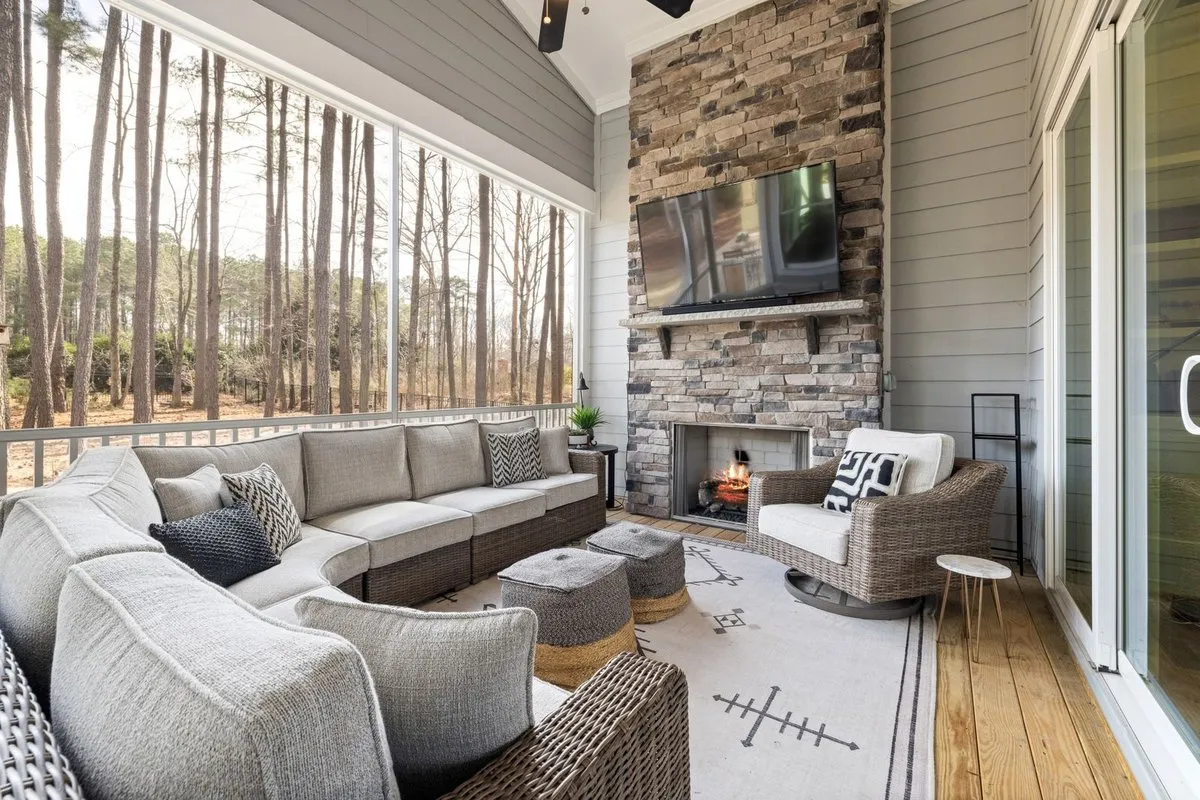
Beautiful maintained paver patio with outdoor furniture and greenery
10
Ongoing · Step 10 of 10

Ongoing Maintenance

Properly installed pavers need very little upkeep. Regular sweeping and periodic resealing keep the surface looking new for decades.

Key Checklist

  • Sweep regularly — especially in shaded or damp areas, which are prone to moss and efflorescence (chalky salt deposits).
  • Re-seal on schedule to protect colour and joint sand.
  • Avoid power washing: it dislodges the joint sand. If you do, redo Steps 8–9 afterwards.
  • Use paver-specific cleaning products for stubborn stains.
💡Pro Tip: A standing bloom of white chalk (efflorescence) on new pavers is normal and washes away with time — do not seal over it.

Deeper specs: every aggregate, its exact grading, and the classic "what to avoid" mistakes live on the master materials spec page.

🧱 Section 2 · The Buying Guide

Which Paver Should You Choose?

Nine paver types compared at a glance — pick the look that fits your home, then match it with the right finish and pattern.

Classic & colonial styles

Brick Pavers

Traditional and durable, clay brick offers a classic look in many colours, sizes, and patterns. Its kiln-fired red tones never fade under UV.

Best value & variety

Cast Concrete Pavers

The standard everyone pictures. Versatile and cost-effective, concrete pavers come in many shapes, colours, and finishes — and can mimic stone or brick.

Old-world character

Cobblestone Pavers

Recreates historic European streets. Rounded top, tightly set units add traditional or colonial charm to paths, patios, and driveways.

Pool decks & hot climates

Travertine Pavers

A natural stone prized for patios and pool decks. Dense and cool underfoot, with tan-to-cream earthy tones.

Natural blue-gray tones

Bluestone Pavers

Quarried sedimentary rock with a blue-gray hue. Durable, elegant, and at home on patios and walkways.

Rustic, organic patios

Irregular Flagstone Pavers

Natural stone in irregular shapes creates an organic, rustic look — perfect for pathways and naturalistic patios.

High-traffic elegance

Granite Pavers

Durable and elegant, granite resists wear and tear. Available in many colours with polished or honed finishes.

Modern low-maintenance

Porcelain Pavers

Extremely dense and among the least porous of all options — stain, scratch, and frost resistant, and very easy to clean.

Mediterranean warmth

Terra Cotta Pavers

Crafted from natural clay, terra cotta exudes timeless elegance with warm earthy hues and an authentic hand-made feel.

Six Paver Finishes, One Decision

Finish

Smooth

Sleek and contemporary; easy to clean. Great for modern patios.

Finish

Textured

Non-slip surface, ideal for pool decks and walkways that get wet.

Finish

Tumbled

Rounded edges and a weathered look for rustic or antique charm.

Finish

Honed

Ground and polished to a smooth, flat face with a soft sheen.

Finish

Flamed

Exposed to high heat for a textured, rough-grip surface — common on granite.

Finish

Split Face

Stone split along its natural cleavage for a rugged, natural appearance.

Match the Pavers to Your Home's Architecture

The pairing pros recommend for each house style.

Home StyleRecommended PaversBest Patterns
Colonial RevivalBrick, cobblestone, textured concreteRunning bond, herringbone, basketweave
Craftsman BungalowTextured concrete, clay brick, natural stoneRunning bond, random ashlar, herringbone
Modern FarmhouseConcrete, cut stone, porcelainRunning bond, herringbone, random ashlar
Tudor RevivalBrick, cobblestone (browns & creams)Herringbone, circular, stack or running bond
Contemporary UrbanModern concrete, porcelainRunning bond, herringbone, stack bond
Spanish / MediterraneanTerra cotta, saltillo, aged concreteHerringbone, Versailles, random ashlar
Modern LakesidePorcelain, modern concreteRunning bond, herringbone, interlocking
🪨 Section 4 · The Foundation

Sand, Base & Drainage, Solved

The three bulk materials below decide whether your patio sinks, shifts, or stands rock-solid. Full specs on thematerials page.

4–6 in, compacted

Sub-Base Aggregate

📦 Crusher Run · CR-6 · DGA · 21A

The load-bearing foundation. Sharp fractured stone with fines locks into a solid pad.

Full spec sheet →
Exactly 1.0 in

Bedding Sand

📦 ASTM C33 washed concrete sand

A uniform leveling bed that pavers bite into. Never use play or masonry sand.

Full spec sheet →
⅛ in from chamfered edge

Joint Sand

📦 Polymeric sand (modern standard)

Interlocks pavers into one surface and blocks weeds and ants.

Full spec sheet →
🌧️ Drainage Rules

Give the Water a Direction

  • Slope the patio 1/4 inch per foot (1 inch every 4 ft) away from the house.
  • Never slope toward a foundation, window well, or retaining wall.
  • Permeable patios absorb stormwater through open joints into a gravel reservoir instead.
  • Poor drainage + poor base = sinking, heaving, and ponding — the 90% failure causes.

Quick Grade Card

Slope¼″ per ft
Base depth4–6″ compacted
Bedding sand1″ ASTM C33
Joint typePolymeric
❓ Section 5 · Common Questions

Paver Patio Questions, Answered

The how-to questions every first-time paver builder asks.

🧮 Rule #2 In Action

Know Your Numbers Before You Dig

Step 2 of the guide is where most builds stall. Use our free calculators to price and order the exact pavers, tons of base gravel, bags of sand, and edging for your footprint — in under a minute.